How often do you take risks? Considering how much I love to research and analyze and construct and deconstruct and plan, taking risks is not exactly what I’m known for.
But the past few years, I’ve been stuck. I needed to change something. You won’t find me on stage doing sketch comedy any time soon, but I heard a great rule about it (thank you Tina Fey, you are my hero) that I took to heart–the sketch and the characters only move forward if you say “Yes, and….” You can’t move a sketch forward saying “No;” I realized I couldn’t move forward with changes by turning things down, second guessing whether I’d be good enough, if I have enough time, if I’m smart enough, if I’ll get rejected, if I have enough experience, etc., ad infinitum. Those are the fastest ways to make nothing happen.
The biggest “Yes, and” I’ve taken on has been simply taking more risks more often. I don’t mean risking running a yellow light or skydiving. I mean just trying things–this blog was one of the first. I didn’t know anything about blogging but I loved talking about food; I forgot most everything I learned years ago about photography but I had a camera. I didn’t know anything about self-promotion but I already happily shared food and recipes I loved. I’ve learned a lot, failed more than a few times, but that’s really the point.
Sometimes the risks I’ve taken have been frustrating. I’ve been angry and sad and disappointed; I’ve yelled and cried and sat in my car hitting my steering wheel more than once. I haven’t gotten the changes I wanted at the pace I wanted them; some risks have made me question what I’m really good at and where I want to be. And from the same risks, doors have opened. I’ve become part of amazing new communities and met new friends; I’ve learned so, so much. Not just new skills (I’m looking at you, mountains of water-bath-canned preserves), but how to approach and process those risks and use them for my next “Yes, and…”
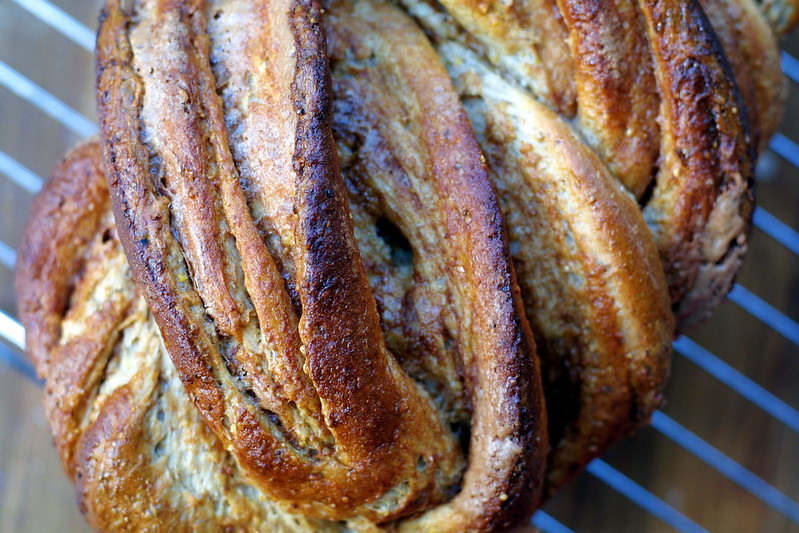
So, bread. (How’s that for a transition?) I’ve never tried improvising a recipe like this–yeast! braiding!–but what’s the worst that could possibly happen? I use a few cups of flour, some milk, and learn something. (I first wrote “I waste a few cups…” but no, it’s not waste.) And I figured it out! Yeah, I researched a bit, and my first attempt was not what I was looking for (it was still good!), but I learned and made this. And it’s honestly one of my proudest baking accomplishments.
It’s really hard to end up with something bad when you bring together three of the most reliable cooking and baking resources, but this bread exceeded even what I had hoped for. Cinnamon swirl bread has never appealed to me–it always tasted more like raisins than cinnamon and usually too sweet with the actual bread as an afterthought–but when I saw it come up three times in a month, looking so delicious and swirly and I imagined what it would smell like baking in the oven, I had to give it a shot.

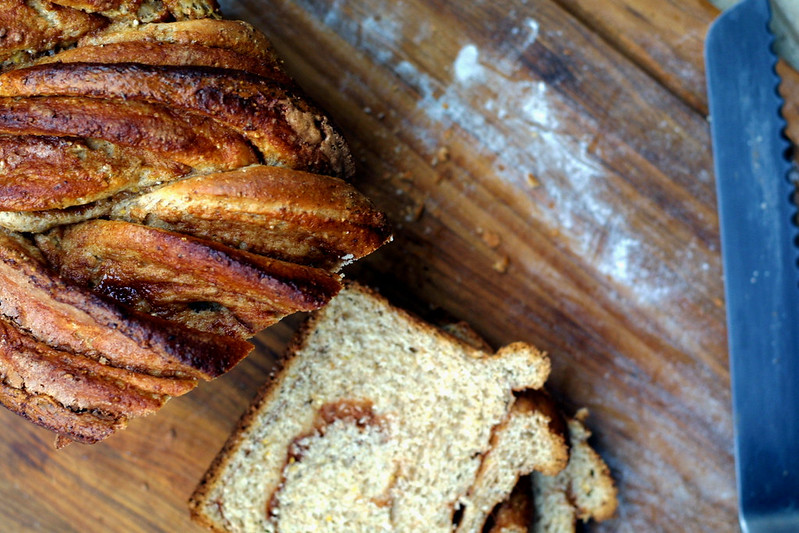
I picked the features I loved most from each recipe: the whole/multi-grain process from Smitten Kitchen; my favorite soft sandwich bread base from Joy of Cooking, and the incredibly impressive (but ridiculously easy) braiding technique from America’s Test Kitchen. Two tries later, it’s just the right amount of sweet, definitely cinnamon-y, tender from the milk and butter, chewy and textured from the combination of flours and grains (and no raisins!). Without the cinnamon, it also makes a great sandwich bread.
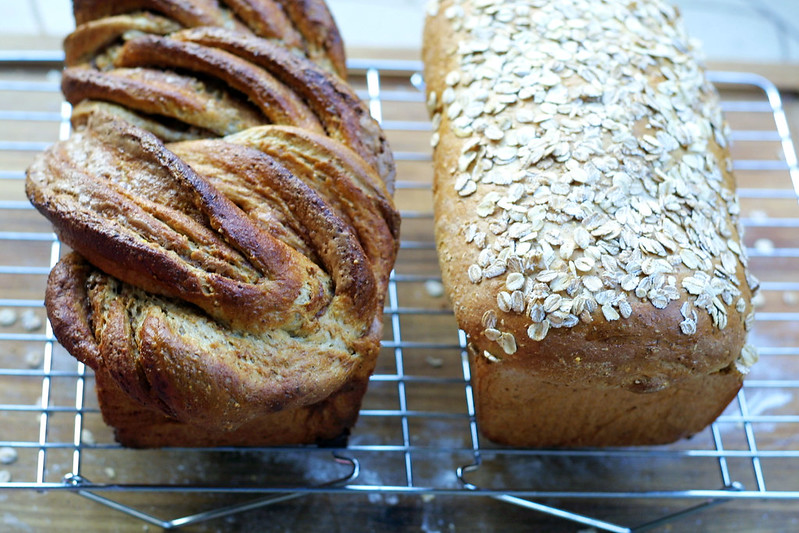
So for my 99th post here, I will say yes, and…I’ll have another slice (with butter this time).
Cinnamon Swirl Multigrain Bread (with a plain variation)
The three sources of inspiration for this bread were The Joy of Cooking (which I shared my variation on early in the life of the blog), America’s Test Kitchen, and Smitten Kitchen. The base recipe and most of the process are the same for the cinnamon swirl and plain variations, but I mention in the instructions below when and how they differ. This makes one loaf, but you can easily double it to make one cinnamon and one plain.
3 tablespoons warm water (around 110 degrees, or a bit warmer than body temperature)
1 packet (2 1/4 teaspoons) dry active yeast
Pinch of sugar
1 1/2 cups bread flour
1 – 1 1/2 cups whole wheat flour
1/2 cup mixed whole grains (not rolled), like Bob’s Red Mill 7 or 10-grain cereal mix
1 teaspoon salt
3 tablespoons butter, melted
2 tablespoons honey
1 cup whole milk
1 egg
For cinnamon filling
1/4 cup sugar
1 1/2 teaspoons cinnamon
1 teaspoon flour
1 egg beaten with 1 tablespoon water
In a large bowl, combine the warm water, yeast, and sugar. Set aside while yeast proofs.
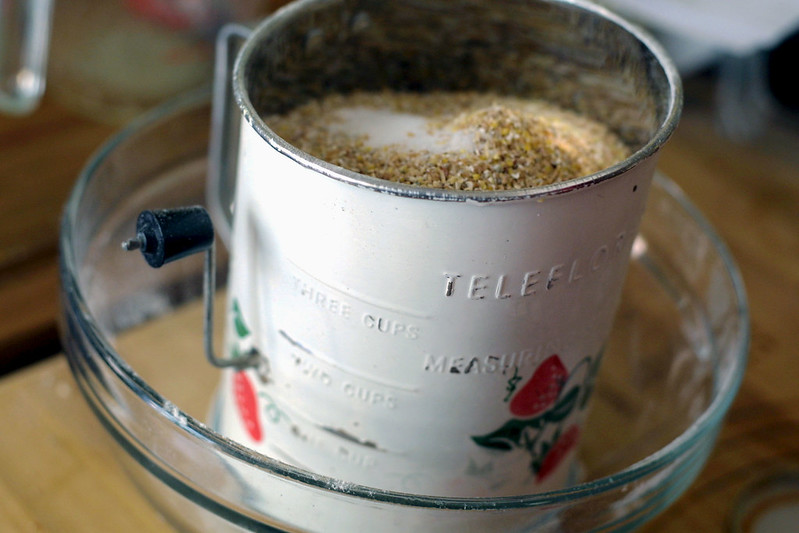
Whisk together bread flour, whole wheat flour, grains and salt. In a small pan or measuring cup, melt butter, then add honey and milk and heat to about 110-115 degrees. Remove from heat and whisk in egg. Add egg mixture to yeast (which should now be poofy, a very technical baking term) and stir to combine.
Using a stand mixer with a paddle attachment or a big bowl and a spoon, slowly stir in the flour mixture.. Mix for 1 minute. The dough will be wet and not seem bread-like at all at this point. Don’t worry. Let it rest for 5 minutes.
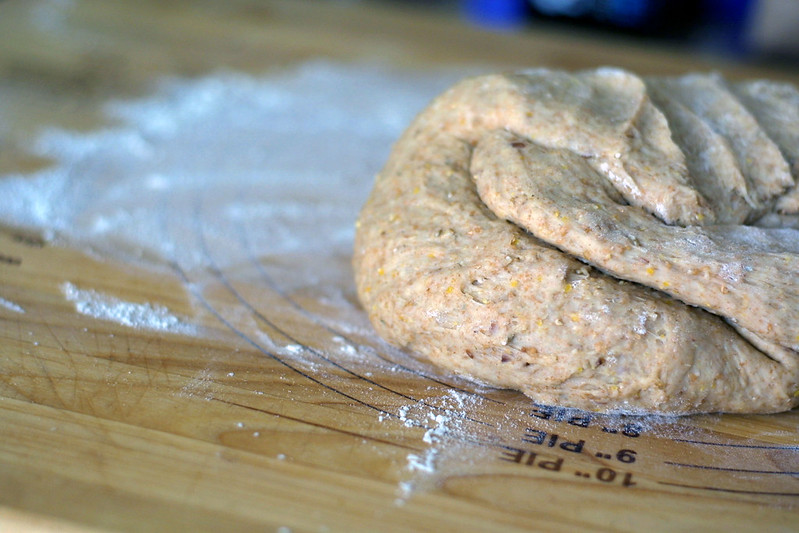
Using the dough hook attachment or your spoon, mix for another 2 minutes. The dough will start coming together into a ball–it will still be slightly sticky but should not be wet. If, after 2 minutes, the dough still seems too wet, add more flour 1 tablespoon at a time.. continue to mix for another 4 minutes until the dough is just barely sticky and forms a knead-able ball.
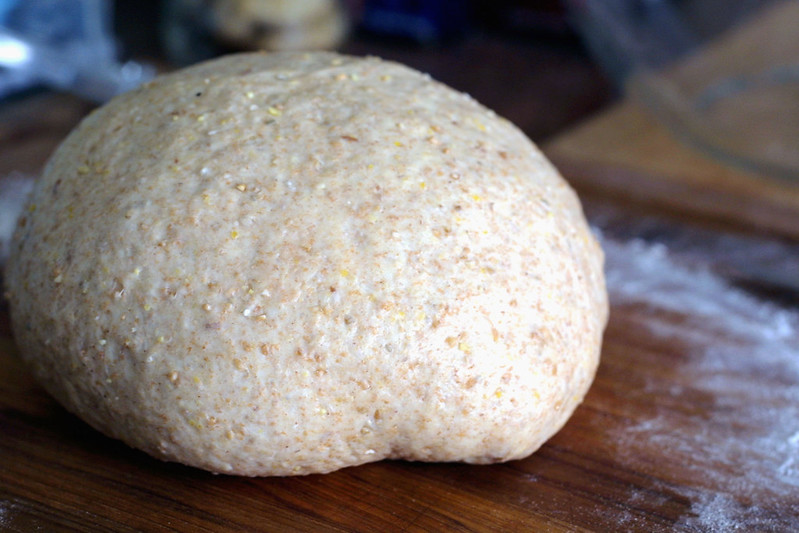
Dump dough onto a lightly floured board and knead a few times before shaping it into a ball. Cover it with a bowl (yes, the opposite of what you usually do) and let it rest for 10 minutes. Knead a few more times, cover and let rest 10 minutes, and repeat once more. By this point the dough should feel smoother and not sticky at all.
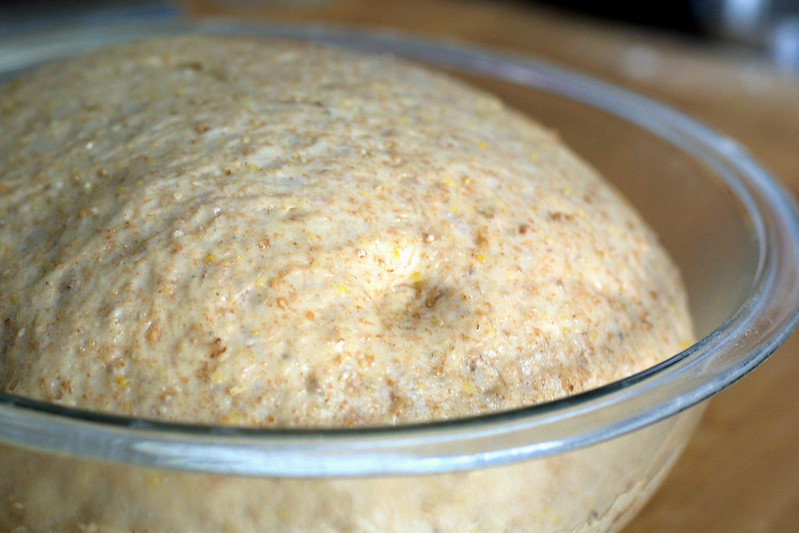
Knead the dough a few final times, then place it in a lightly oiled bowl with enough space for the dough to double. Cover the bowl with plastic wrap and let rise at room temperature for about an hour, or until doubled.
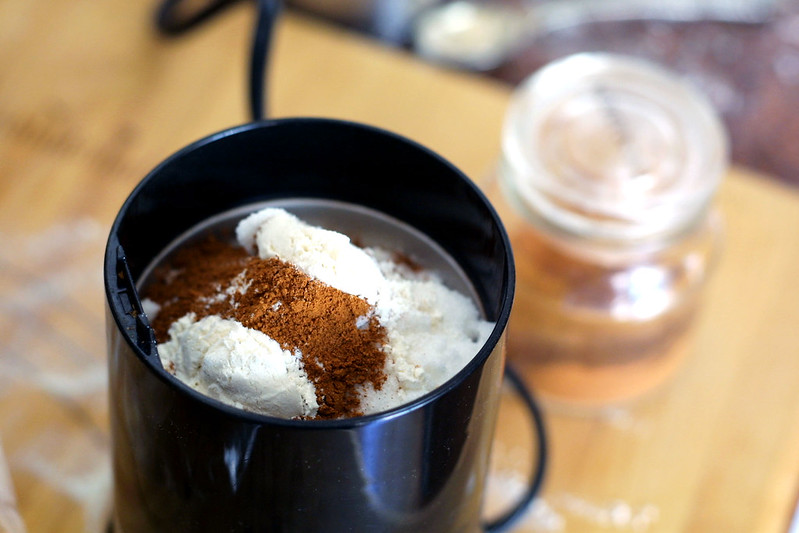
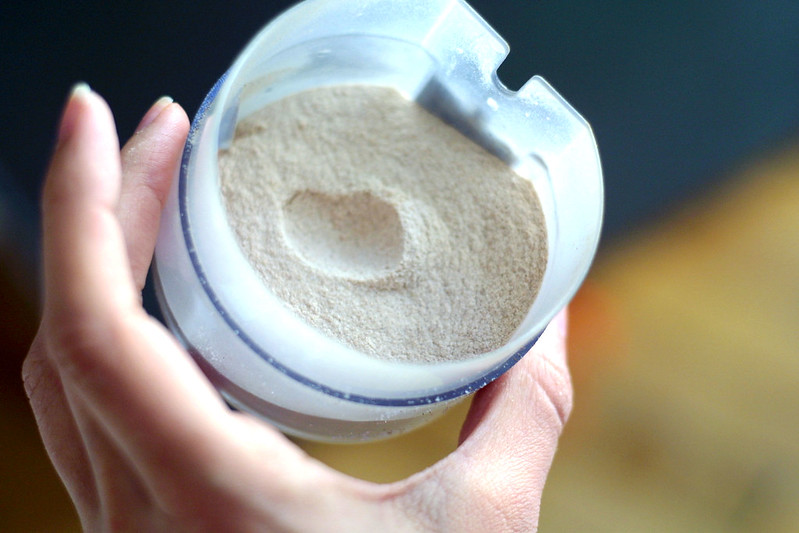
Meanwhile, combine sugar, cinnamon, and flour in a food processor (a small coffee or spice grinder works great too) and process until the sugar is a fine powder. In a small bowl, lightly whisk egg and water until foamy.
Lightly butter a 4.5×8 or 9×5 inch loaf pan. Preheat oven to 375 degrees.
Press down the risen dough and turn it back out onto a floured board.
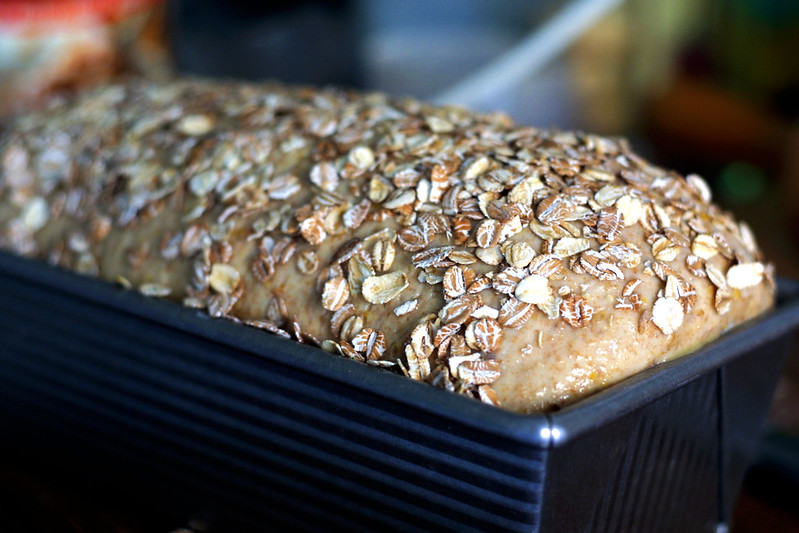
For plain bread, roll the dough out to an 8 inch square and roll it up, pinching the ends and bottom seam to seal it. Place it in the buttered loaf pan, covered with plastic wrap, and let rise for another 40 minutes to 1 hour, or until the bread has risen 1 inch above the top of the pan.
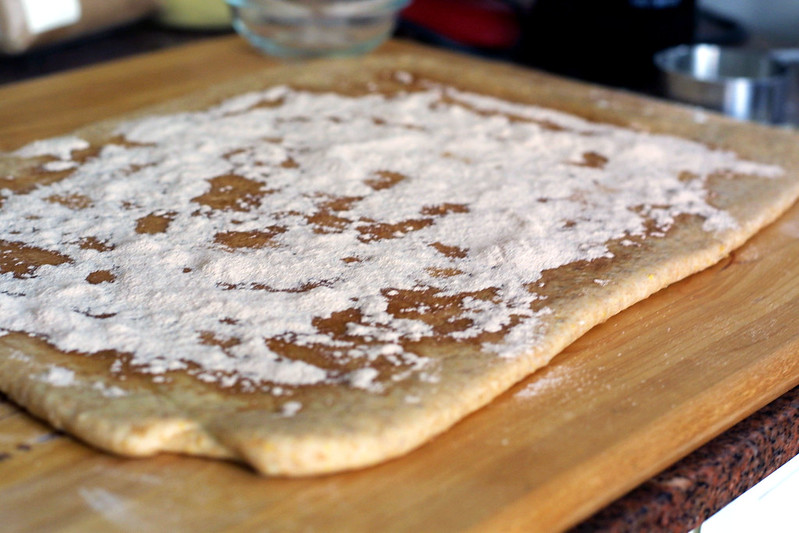
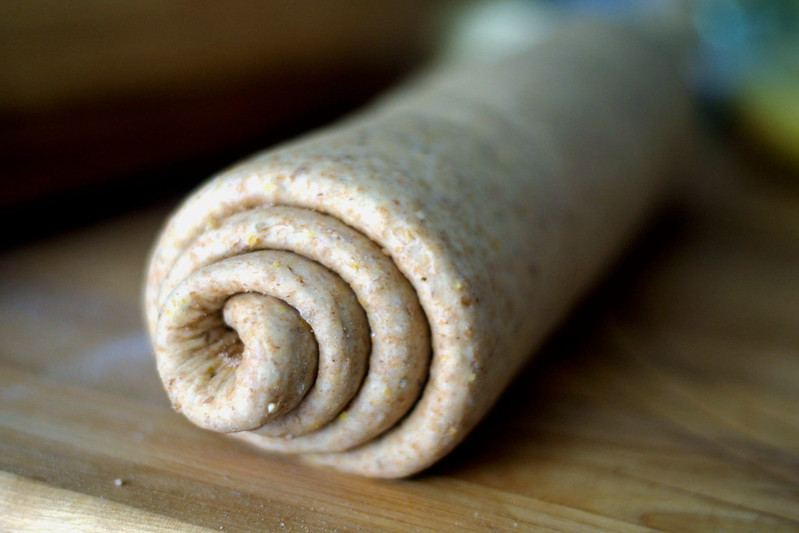
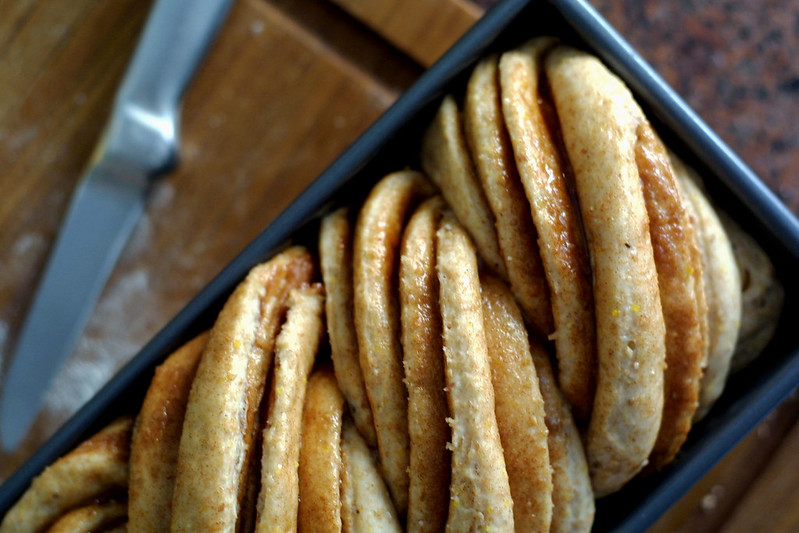
For cinnamon bread, roll the dough out to a 14×8-inch rectangle. Brush the dough with just enough egg mixture to moisten; sprinkle cinnamon sugar over the dough. Starting with the short edge, roll the dough up tightly and pinch ends and edge to seal.
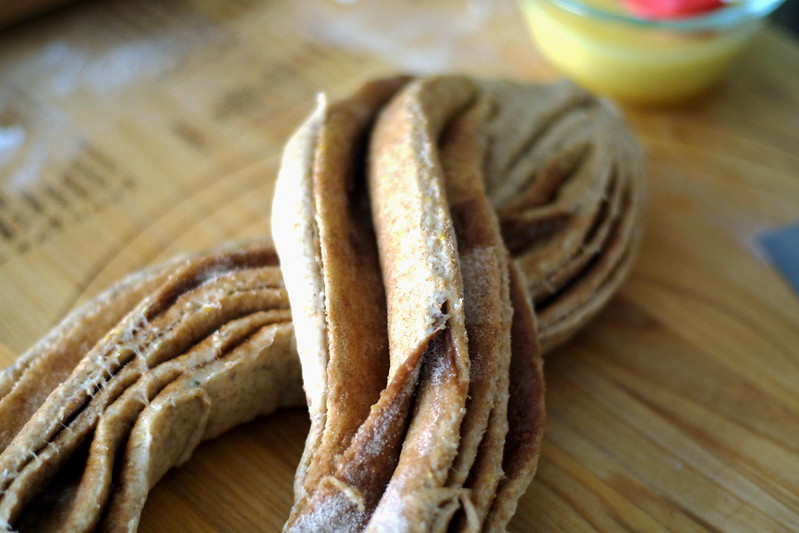
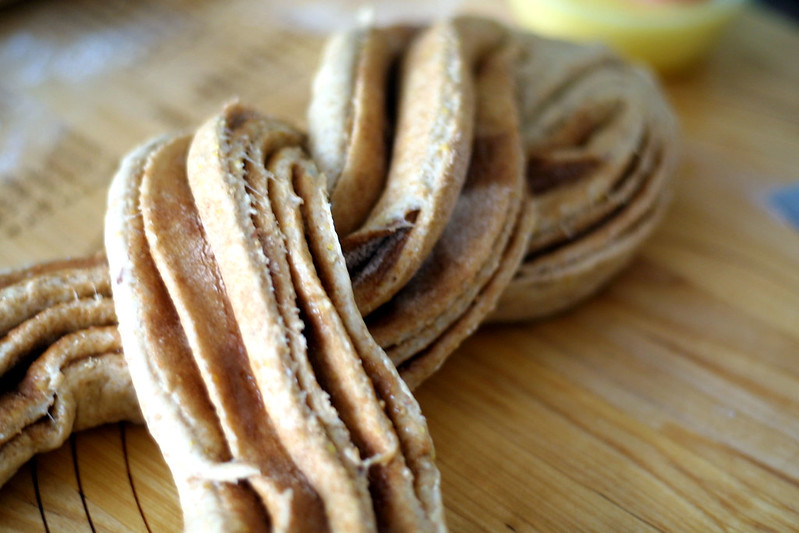
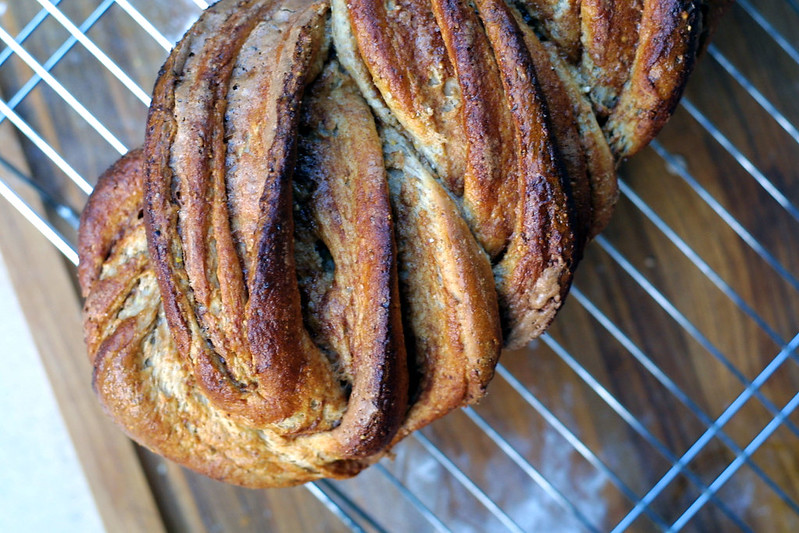
With a sharp knife, cut your bread in half lengthwise. Set the two pieces next to each other, cut sides facing up. Pinch two ends together. Take the left loaf half and drape it gently over the right side. Repeat twice, taking the left side over the right until the dough is completely twisted. Pinch the bottom ends together. If it’s too long to fit in your pan. gently push the loaf at both ends to scrunch it up a bit. Place it in the pan, cover with plastic wrap, and let rise another 40 minutes to 1 hour or until the bread has risen 1 1/2 inches above the top of the pan.
When dough has risen. remove the plastic wrap and brush the bread once more with the egg wash. Place the bread in the oven and bake for 40-50 minutes, rotating once halfway through. When the bread is done, it will be a deep golden brown, sound hollow when tapped, and measure 190 degrees with an instant-read thermometer.
Allow to cool for 15 minutes in the pan on a baking rack, then remove from the pan and allow to cool completely (or until you can’t stand it anymore and just have to try a slice).


What? I thought the picture on your facebook page was of 2 loaves of bread you bought at the farmers market. These look absolutely beautiful and your place must have smelled wonderful. Very nice analogy of risk and recipe creation. Taking calculated risks is about using your experience to assess the worst that could happen. Your progressing nicely on the experience part. You just need to “rise up” more. Nice job with the bread and your life, kiddo.
LikeLike
Thanks Mom 🙂 And yes, those were my two loaves, farmers market next weekend! (Also, ha, “rise up.” It’s clear where I get my sense of humor!)
LikeLike
SOUNDS GOOD, I’LL HAVE TO MAKE SOME, I THOUGHT I TOLD YOU ABOUT GETTING OUT OF THE KITCHEN!! LOL
LikeLike
I have, that’s the point!
LikeLike
Another wonderful read and fantastic looking bread. Your mom was right, your kitchen would have smelled wonderful. There’s nothing like baking bread and having it look so delicious. Reading your article I could almost smell that bread baking. You are just great Christina. Love
LikeLike
WELL, I MADE THIS YESTERDAY, I DOES SMELL GREAT WHEN COOKING! HAD TO TRY OUT MY NEW TO ME MIXER THAT YOUR GRANDMOTHER GAVE ME. EVERY THING WENT WELL UNTIL I WAS SO INTENT ON HAVING MY MILK MIXTURE AT 110-115 DEGREES THAT I FORGOT THE EGG, LOL WELLLL, I JUST NOTICED IT WAS NOT WET AND STICKY AND THE EGG ROLLED BEHIND MY BAGS OF FLOWER, I JUST CRACKED IT AND REMIXED THE DOUGH AND IT CAME OUT GREAT.
ALTHOUGH, NEXT TIME I DON’T THINK I’LL CUT IT AND SPIRAL IT, TOO MUCH FALLS APART WHEN CUTTING AND EATING, OR JUST ROLL THINNER, WE’LL SEE.
MR. GORMET SIGNING OFF!
LikeLike
So glad it worked for you!
LikeLike
This looks so good, I can’t wait to try it!
LikeLike
Wow! Both loaves looks both tasty and wondrously beautiful! I hope to have the chance to try it. Your meditation on recipe-creating as risk-taking also resonates with me. I love experimenting in the kitchen, but especially with baking. Thanks for sharing this! PS: I found your blog through the comments at Smitten Kitchen
LikeLike
Thanks so much Sarah, what a sweet comment!! I do hope you try to make the bread, it’s infinitely prettier and tastier when you make it yourself 🙂
LikeLike